High Points
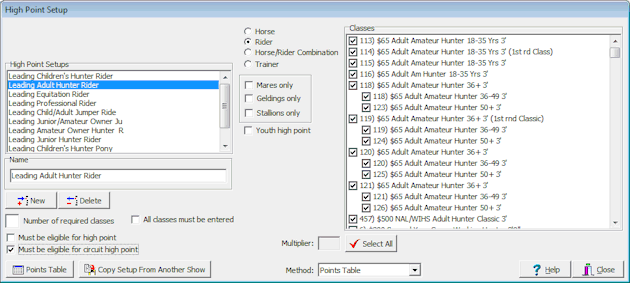
To setup high points select High Points from the Data Menu. The following dialog box is displayed... |

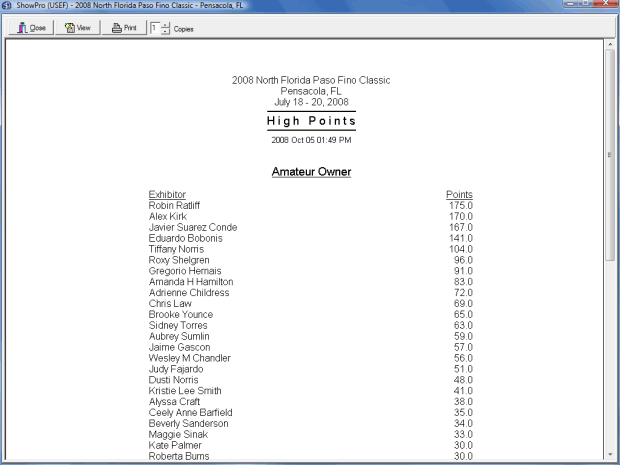
The left side is a list editor, for each high point that you want to track create an item in the list. The center section allows you set certain contraints on the high point. On the right side you select the classes that are part of the high point. The Select All button will toggle the selection of all the classes in the list. Combined classes will have the original classes indented under them, this gives you then flexibility to control which high point the original classes belong to. The Multiplier enables you to award something other than full points, 1/2 or double for example on an individual class basis. The Method drop down lets you select how the points are determined, the choices are Points Table, Number Placed Over + 1, or Money Won. You must have a Points Table configured for your high point if you are using the Points Table method, click the Points Table button to configure this. There is a check box to specify that all classes must be entered, this is generally not checked but may be important in certain situations. Optionally, you can set a minimum number of classes that must be entered. In the Professional Edition you can set that eligibility is required for the high point and/or the circuit high point. Member/Horses are assumed to be eligible but you can create a Verification Flag with a significance of "Ineligible" and you can mark them as Ineligible to exclude them from the high point. Once your high point is set up and you have some results in you can view the High Points report by selecting Results > High Points from the Report Viewer menu or you can print the report by making the same selection from the Reports menu. |
See Also |
